The Kenmore Sewing Machine Model 385 is a versatile and user-friendly appliance designed for both beginners and experienced sewists. Its comprehensive manual provides detailed instructions on operation, maintenance, and troubleshooting, ensuring optimal performance. With a focus on safety and ease of use, this guide is essential for mastering the machine’s features and capabilities.
1.1. Overview of the Kenmore 385 Sewing Machine
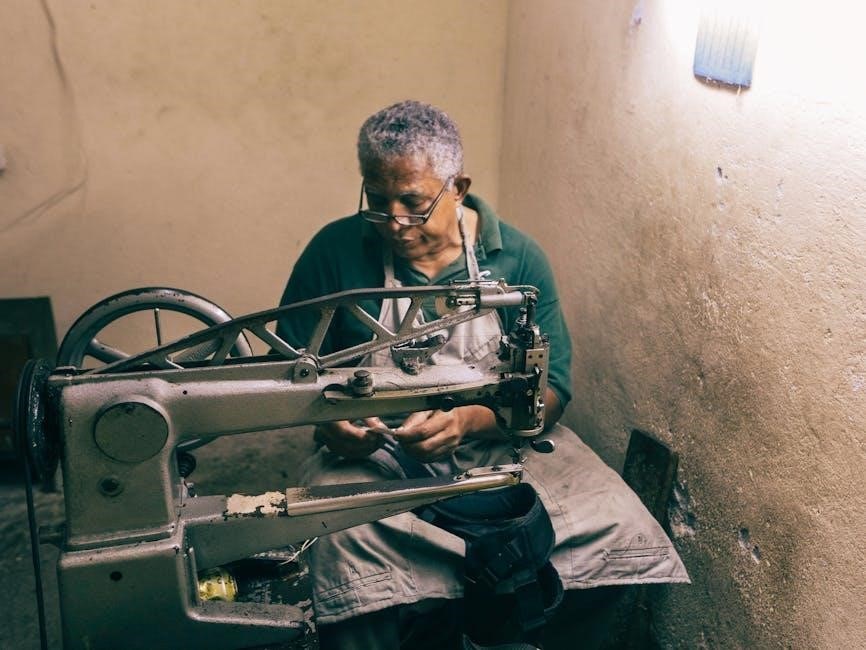
The Kenmore 385 Sewing Machine is a popular model known for its durability and user-friendly design. It features a mechanical setup with basic stitch options, making it ideal for everyday sewing tasks. Designed for simplicity, this machine is suitable for both beginners and experienced sewists. The model offers a compact design, easy-to-use controls, and compatibility with various fabrics. Its straightforward operation and minimal maintenance requirements make it a favorite among sewing enthusiasts. The machine comes with a detailed manual that guides users through setup, threading, and troubleshooting, ensuring optimal performance and longevity.
1.2. Importance of the User Manual
The user manual for the Kenmore 385 Sewing Machine is an essential resource for understanding its operation, maintenance, and troubleshooting. It provides clear instructions on safety guidelines, feature usage, and care tips to ensure optimal performance. The manual includes detailed diagrams and step-by-step guides to help users navigate the machine’s functions effectively. By following the manual, users can avoid common mistakes, extend the machine’s lifespan, and make the most of its capabilities. Reading and adhering to the manual is crucial for safe and efficient sewing experiences with the Kenmore 385.

Identifying and Locating Parts of the Machine
Understanding the components of the Kenmore 385 is crucial for effective operation. Key parts include the bobbin, spool pins, and presser foot. The manual provides detailed diagrams and descriptions to help users locate and identify each part, ensuring proper use and maintenance.
2.1. External Components of the Kenmore 385
The Kenmore 385 sewing machine features several external components essential for its operation. These include the spool pins, bobbin winder, presser foot, and stitch selectors. The manual provides clear diagrams to help identify these parts. The spool pins hold the thread, while the bobbin winder is used for preparing the bobbin. The presser foot ensures fabric remains stable during sewing. Understanding these components is vital for proper machine setup and use. Refer to the manual’s illustrations for accurate identification and location of each part.
2.2. Internal Parts and Their Functions
The internal components of the Kenmore 385 sewing machine are crucial for its operation. Key parts include the bobbin case, tension discs, and the shuttle hook. The bobbin case holds the bobbin in place, ensuring proper stitch formation. Tension discs regulate thread tightness, while the shuttle hook catches the thread to create loops. These internal mechanisms work together to achieve consistent stitching. Regular maintenance, such as cleaning and lubrication, is essential to keep these parts functioning smoothly. Consult the manual for detailed diagrams and instructions on accessing and caring for these internal components.

Setting Up the Sewing Machine
Setting up your Kenmore 385 sewing machine involves unpacking, inspecting, and placing it on a stable surface. Connecting the power cord securely ensures safe operation. Follow manual guidelines for proper installation and initial preparation to avoid damage and ensure functionality.
3.1. Unpacking and Initial Inspection
Begin by carefully unpacking the Kenmore 385 sewing machine from its box. Inspect the machine for any visible damage or scratches. Check all included accessories, such as the power cord, needles, and bobbins, to ensure nothing is missing. Gently wipe down the exterior with a soft cloth to remove any packaging residue. Familiarize yourself with the machine’s components, referencing the manual if needed. This step ensures everything is in working order before proceeding to setup and use, helping prevent potential issues down the line.
3.2. Placing the Machine on a Stable Surface
To ensure optimal performance and safety, place the Kenmore 385 sewing machine on a stable, flat surface. Choose a sturdy table or desk that can support the machine’s weight without wobbling. Ensure the surface is level using a level tool and adjust as necessary. Position the machine away from the edge to prevent accidental tipping and allow adequate space around it for comfortable operation. Consider using a non-slip mat to minimize movement and ensure the power cord is securely placed to avoid hazards. Proper placement enhances both functionality and user comfort during sewing sessions.
3.3. Connecting the Power Cord
Before using the Kenmore 385 sewing machine, ensure the power cord is securely connected. Locate a nearby grounded electrical outlet and plug in the cord, making sure it is fully inserted. Avoid using extension cords unless necessary, and always check the cord for visible damage or fraying. If damaged, replace the cord immediately to prevent electrical hazards. Ensure the machine is turned off before plugging it in. This step is crucial for safe operation and to prevent any accidental start-ups. Proper connection ensures reliable power supply and optimal machine performance.

Threading and Bobbin Preparation
Proper threading and bobbin preparation are essential for smooth operation. Follow the manual’s step-by-step guide to ensure correct thread flow and bobbin installation, minimizing stitching issues.
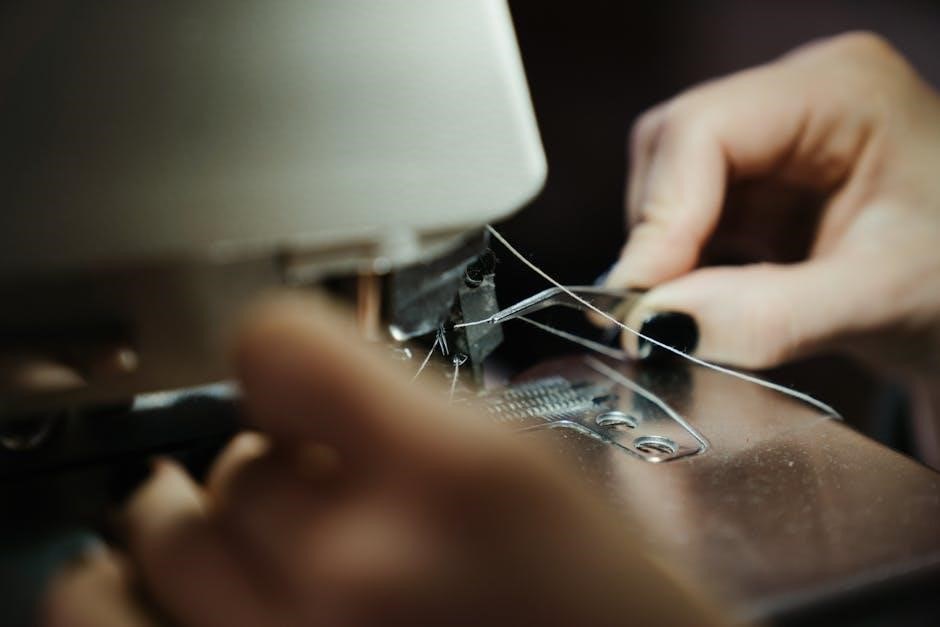
4.1. Step-by-Step Guide to Threading the Machine
Locate the spool pin and pull the thread gently. 2. Insert the thread through the machine’s tension discs. 3. Guide the thread through the take-up lever. 4. Pass it through the needle bar and insert into the needle eye. 5; Leave a small loop and pull the thread to seat it properly. 6. For the bobbin, wind the thread around the bobbin winder. 7. Insert the bobbin into the bobbin case and pull the thread to set tension. Follow these steps carefully to ensure smooth stitching and prevent thread breakage.
4.2. Winding and Installing the Bobbin
Place the thread on the spool pin. 2. Gently pull the thread and wrap it around the bobbin, leaving a small loop. 3. Insert the bobbin onto the bobbin winder. 4. Turn the handwheel to wind the thread evenly. 5. Once full, cut the thread and trim excess. 6. Insert the bobbin into the bobbin case, ensuring it sits correctly. 7. Pull the thread to set the tension. Properly winding and installing the bobbin ensures consistent stitching and prevents issues like thread breakage or uneven tension. Always refer to the manual for specific tension adjustments.
Basic Sewing Operations
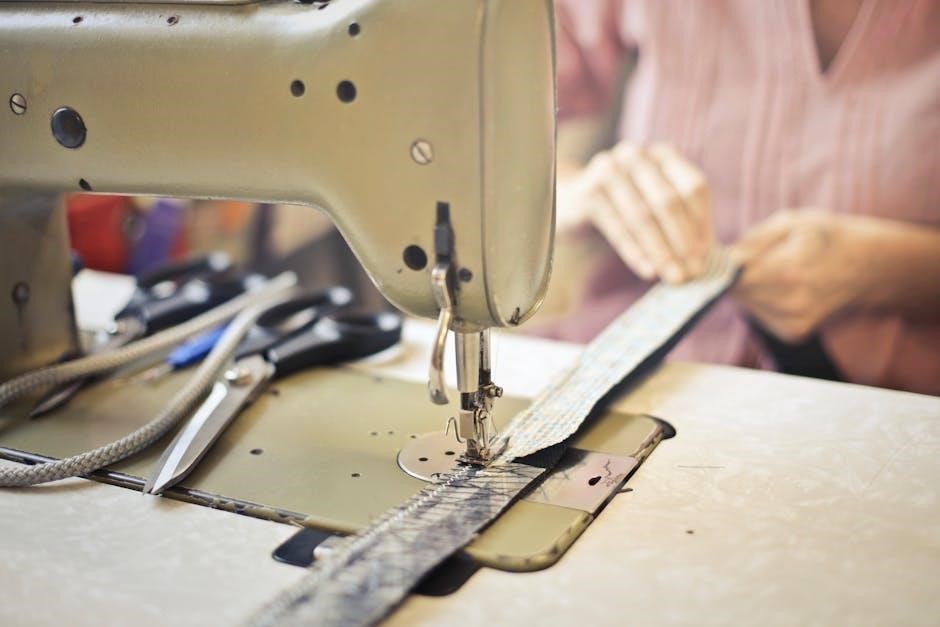
Master essential sewing skills with the Kenmore 385. Select the perfect stitch type for your project, adjust tension for even stitching, and learn to start and stop smoothly.
5.1. Selecting the Right Stitch Type
The Kenmore 385 offers a variety of stitch options to suit different sewing projects. Choose from straight, zigzag, or decorative stitches based on fabric type and desired results. For general sewing, the straight stitch is ideal, while zigzag is perfect for stretchy fabrics or preventing fraying. Decorative stitches add a creative touch to embellish clothing or home decor. The manual provides clear guidance on selecting the appropriate stitch for your project, ensuring professional-looking results. Always refer to the stitch chart in the manual for fabric compatibility and project-specific settings.
5.2. Adjusting Tension for Optimal Stitch Quality
Proper tension is crucial for achieving even, consistent stitches. Start by setting the top thread tension to the midpoint, then adjust based on fabric type and stitch results. If stitches are uneven or puckering occurs, tighten or loosen the tension dial slightly. Similarly, check the bobbin tension by gently pulling the thread; it should offer light resistance. For optimal results, test adjustments on scrap fabric before sewing your final project. Refer to the manual for specific guidance on fine-tuning tension for various fabrics and stitch types to ensure professional-looking seams every time.
5.3. Starting and Stopping the Machine
To start the Kenmore 385, ensure the machine is properly plugged in and the power switch is turned on. Gently press the foot control or press the start/stop button to begin sewing. Maintain steady control over the fabric, keeping your hands clear of the needle area. To stop, release the foot control or press the stop button. Always turn off the power switch and unplug the machine when not in use or during maintenance. This ensures safety and prevents accidental activation. Proper stopping procedures help extend the machine’s lifespan and maintain its performance.

Advanced Features and Techniques
The Kenmore 385 offers advanced features like embroidery capabilities and diverse fabric compatibility, allowing users to explore creative sewing projects with precision and versatility.
6.1. Using the Kenmore 385 for Embroidery
Embroidery on the Kenmore 385 enhances creativity with customizable stitch patterns and precision control. Follow manual guidelines to set up embroidery hoops, select decorative stitches, and adjust thread tensions for intricate designs. Ensure fabric is stabilized and test stitches on scrap material before final application. Regularly clean and maintain the machine to prevent thread breakage and ensure smooth operation during embroidery projects.
6.2. Sewing Different Fabrics and Materials
The Kenmore 385 accommodates a wide range of fabrics, from delicate silk to heavy-duty materials. For cotton and polyester, use a universal needle and standard tension settings. When sewing thicker fabrics like denim or canvas, switch to a heavy-duty needle and adjust the tension slightly. For stretchy fabrics, use a stretch needle and reduce presser foot pressure. Specialized feet, such as the Teflon foot, are ideal for slippery materials like vinyl or leather. Always test stitches on scrap fabric before sewing to ensure proper settings and avoid damage to your project or machine.

Maintenance and Cleaning
Regular maintenance ensures the Kenmore 385 operates smoothly. Clean lint and debris from the bobbin area and tension discs. Lubricate moving parts as instructed to prevent wear. Always unplug the machine before cleaning to avoid accidents. Check for loose screws and tighten them if necessary. Refer to the manual for specific routines and techniques to keep your sewing machine in optimal condition and extend its lifespan.
7.1. Regular Cleaning of the Machine
Regular cleaning is essential to maintain the performance of your Kenmore 385 sewing machine. Start by disconnecting the power cord for safety. Use a soft brush or cloth to remove lint and debris from the bobbin area, tension discs, and other visible parts. Gently vacuum or blow out dust using compressed air, being careful not to push debris further into the machine. Avoid using harsh chemicals or abrasive materials that could damage the finish. Clean the machine after each project to prevent fabric residue buildup. Regular maintenance ensures smooth operation and extends the lifespan of your sewing machine.
7.2. Lubricating Moving Parts
Lubricating the moving parts of your Kenmore 385 sewing machine is crucial for smooth operation and longevity. Use high-quality sewing machine oil, applying a few drops to the hook area, shuttle race, and other metal components. Turn the handwheel gently to distribute the oil evenly. Avoid over-lubrication, as excess oil can attract dust and dirt. Wipe away any excess oil with a soft cloth. Lubricate every 1-2 months or as needed, depending on usage. Regular lubrication ensures quiet, efficient stitching and prevents wear on internal mechanisms. Always unplug the machine before performing maintenance tasks.

Troubleshooting Common Issues
Identify and resolve common problems like thread breakage, bobbin tension, and damaged parts. Refer to the manual for step-by-step solutions to ensure smooth machine operation and performance.
8.1. Fixes for Thread Breakage
Thread breakage is a common issue that can be resolved by checking the thread quality and ensuring proper tension. Inspect the thread for tangles or knots and re-thread the machine following the manual’s guide. If the thread frequently breaks, adjust the tension discs or check for any obstructions in the machine’s path. Ensure the bobbin is correctly installed and not overloaded. Using high-quality thread suitable for your fabric type can prevent breakage. Regularly clean the machine to remove lint or debris that may cause friction. Consult the manual for specific troubleshooting steps to restore smooth stitching performance.
8.2. Solving Bobbin Tension Problems
Bobbin tension issues can cause uneven stitching or fabric dragging. To resolve this, ensure the bobbin is correctly seated in the case and the tension is adjusted properly. Turn the small screw on the bobbin case gently with the provided screwdriver to tighten or loosen the tension. If stitches are too loose, increase tension; if too tight, decrease it. Test the tension by pulling the thread gently. Avoid over-tightening, as this can damage the machine. Ensure the bobbin is wound evenly and not overloaded, as this can also affect tension. Refer to the manual for specific adjustment guidelines.
8.3. Repairing or Replacing Damaged Parts
If a part of your Kenmore 385 sewing machine is damaged, inspect it carefully to determine the extent of the damage. For minor issues, such as a bent or loose part, you can often fix it with basic tools. For more severe damage, replacement may be necessary. Use only genuine Kenmore parts to ensure compatibility and performance. Refer to the manual for diagrams and part numbers. If unsure, consult a professional technician to avoid further damage. Always unplug the machine before attempting repairs to ensure safety. Follow the manufacturer’s guidelines for dismantling and reassembling components.

Safety Precautions
Always prioritize safety when using the Kenmore 385 sewing machine. Read the manual thoroughly, avoid loose clothing, and keep children away. Use genuine parts and ensure regular maintenance to prevent hazards and ensure safe operation.
9.1. General Safety Guidelines
To ensure safe operation of the Kenmore 385 sewing machine, always follow these guidelines: Keep loose clothing and long hair tied back, and avoid distractions while sewing. Never touch moving parts or hot surfaces, and ensure the machine is placed on a stable, flat surface. Use only genuine Kenmore accessories and parts to maintain safety standards. Keep children and pets away from the machine while in use. Always turn off and unplug the machine before cleaning or performing maintenance. Adhere to these precautions to prevent accidents and ensure optimal performance.
9.2. Electrical Safety Tips
Always use the Kenmore 385 sewing machine with a properly grounded electrical outlet to prevent shock. Avoid using damaged power cords or plugs, as they can pose a fire hazard. Never expose the machine to water or moisture, as this can cause electrical malfunctions. Keep the machine unplugged when not in use or during cleaning. Ensure the power cord is securely connected to both the machine and the outlet. Avoid overloading circuits, and consult a professional for any wiring concerns. Following these electrical safety tips ensures a safe and reliable sewing experience.
Congratulations on completing the Kenmore 385 manual! Proper care and regular maintenance ensure machine longevity. Store it safely to preserve its functionality and versatility for future projects.
10.1. Maximizing the Lifespan of the Machine
To ensure your Kenmore 385 sewing machine lasts for years, regular maintenance is essential. Clean the machine thoroughly after each use to remove dust and debris. Lubricate moving parts as specified in the manual to keep them functioning smoothly. Store the machine in a dry, cool place, away from direct sunlight, and use a protective cover to prevent damage. Avoid exposure to moisture, as it can corrode internal components. Always inspect the machine before use and address any issues promptly. Using genuine Kenmore accessories ensures compatibility and prevents wear. By following these tips, you can extend the machine’s lifespan and maintain its performance.
10.2. Storing the Sewing Machine Properly
Proper storage is crucial for maintaining the Kenmore 385 sewing machine’s condition. Store it in a cool, dry place, away from direct sunlight and moisture. Use a hardcover case or the original packaging for protection. Ensure the machine is clean and free of dust before storage. Detach the power cord and store it separately to prevent damage. Remove the needle and bobbin, and store them in a designated compartment. Avoid stacking heavy objects on the machine. For long-term storage, consider lubricating moving parts and covering the machine with a soft cloth to prevent dust buildup. Regularly inspect stored machines for any signs of wear or damage.